Gmail
You can connect your email account with uContact to receive, reply and create interactions! Below is a breaf explanation with the procedure to create and configure a new email connector with your email account in uContact.
Setting up in your Google account
To use your Google account with uContact, a configuration is required for security.
- Login in to the Google Account you want to connect with uContact.
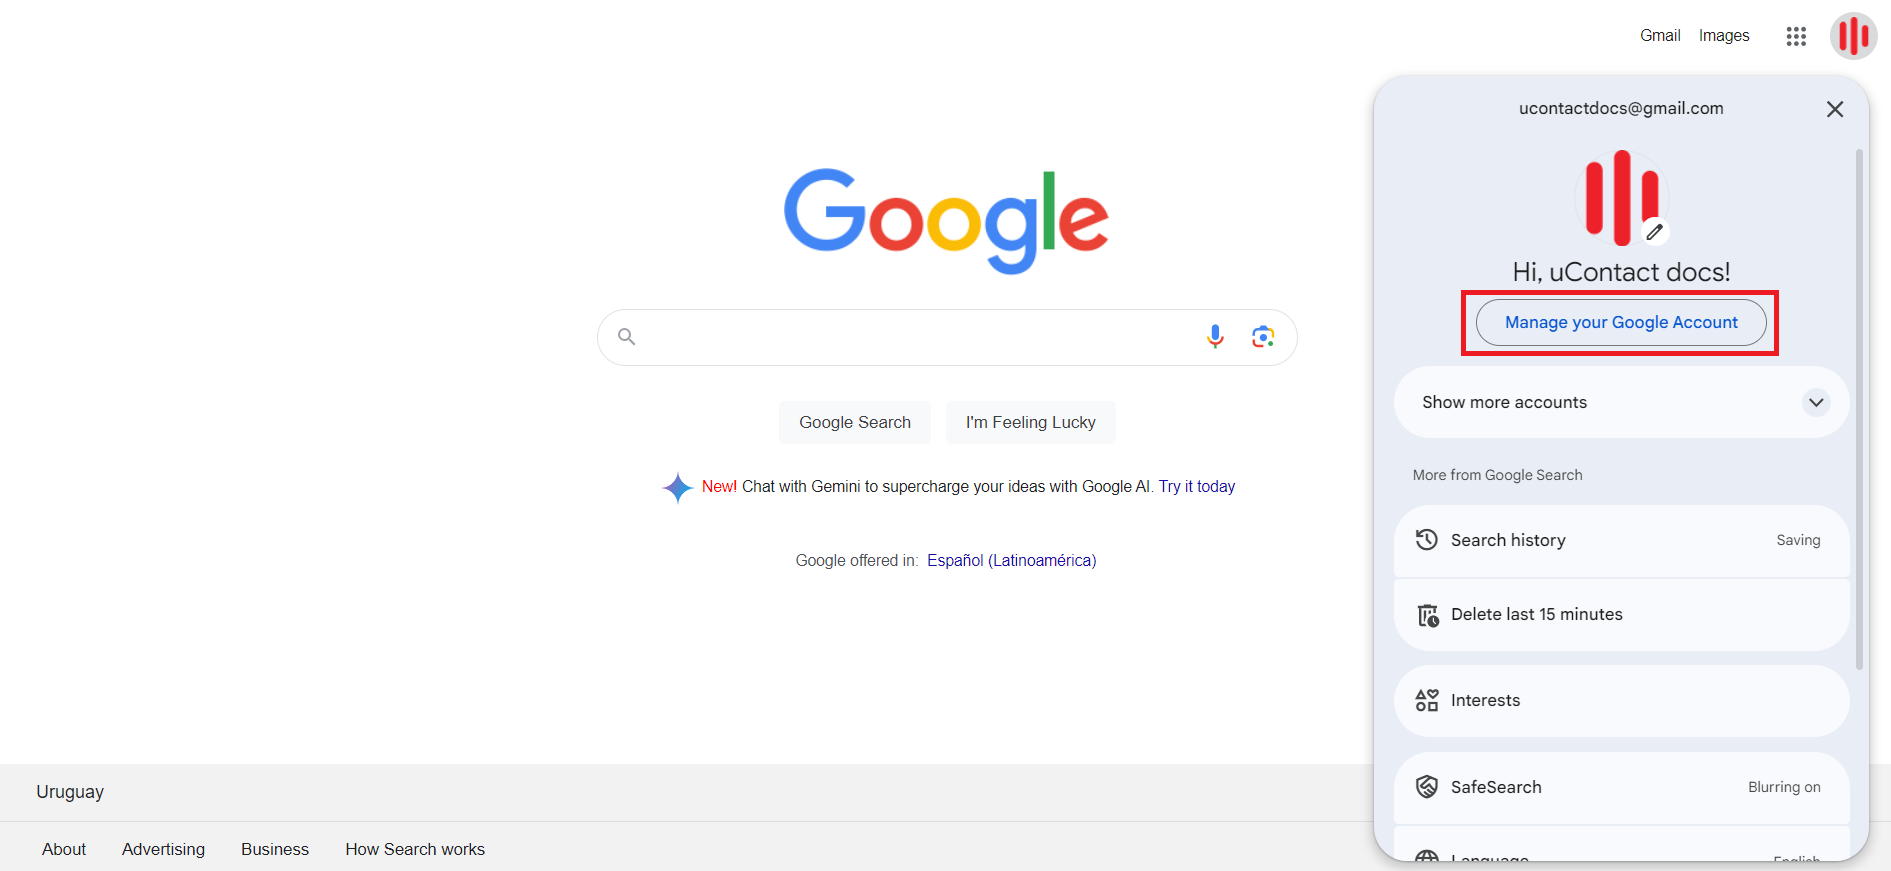
- Once you are logged in, hgo to the top right corner and click on the circle with your profile picture and then "Manage your Google Account."
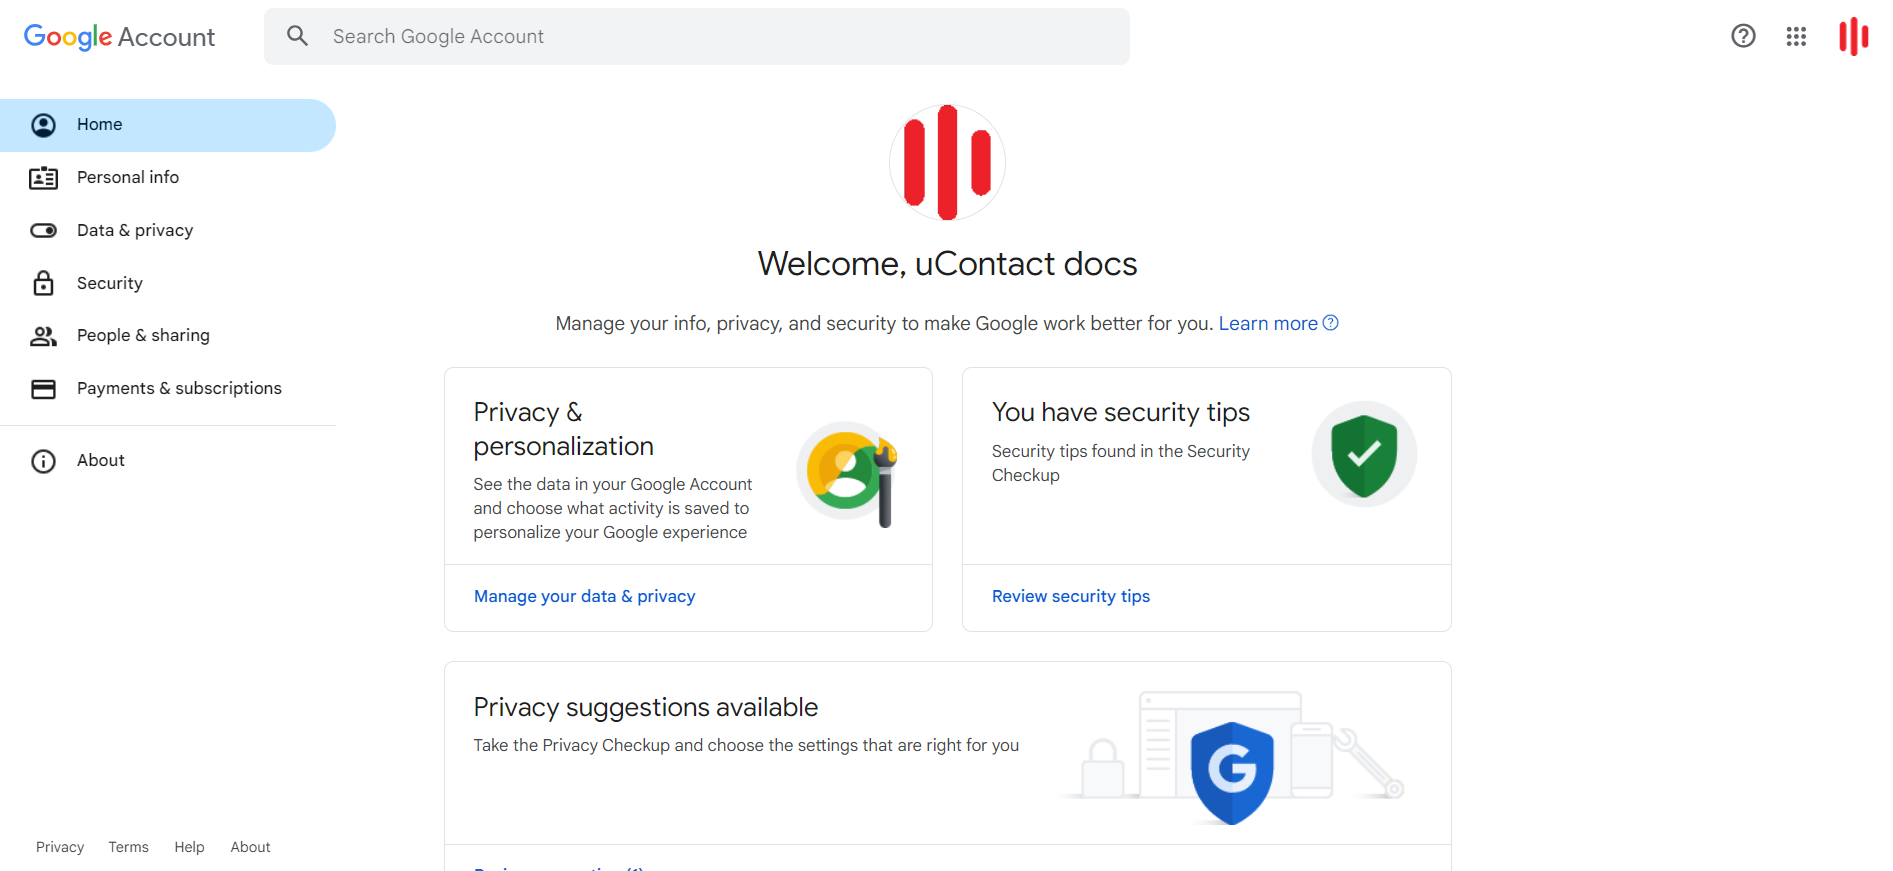
- On this page, we have to click on the "Security" option.
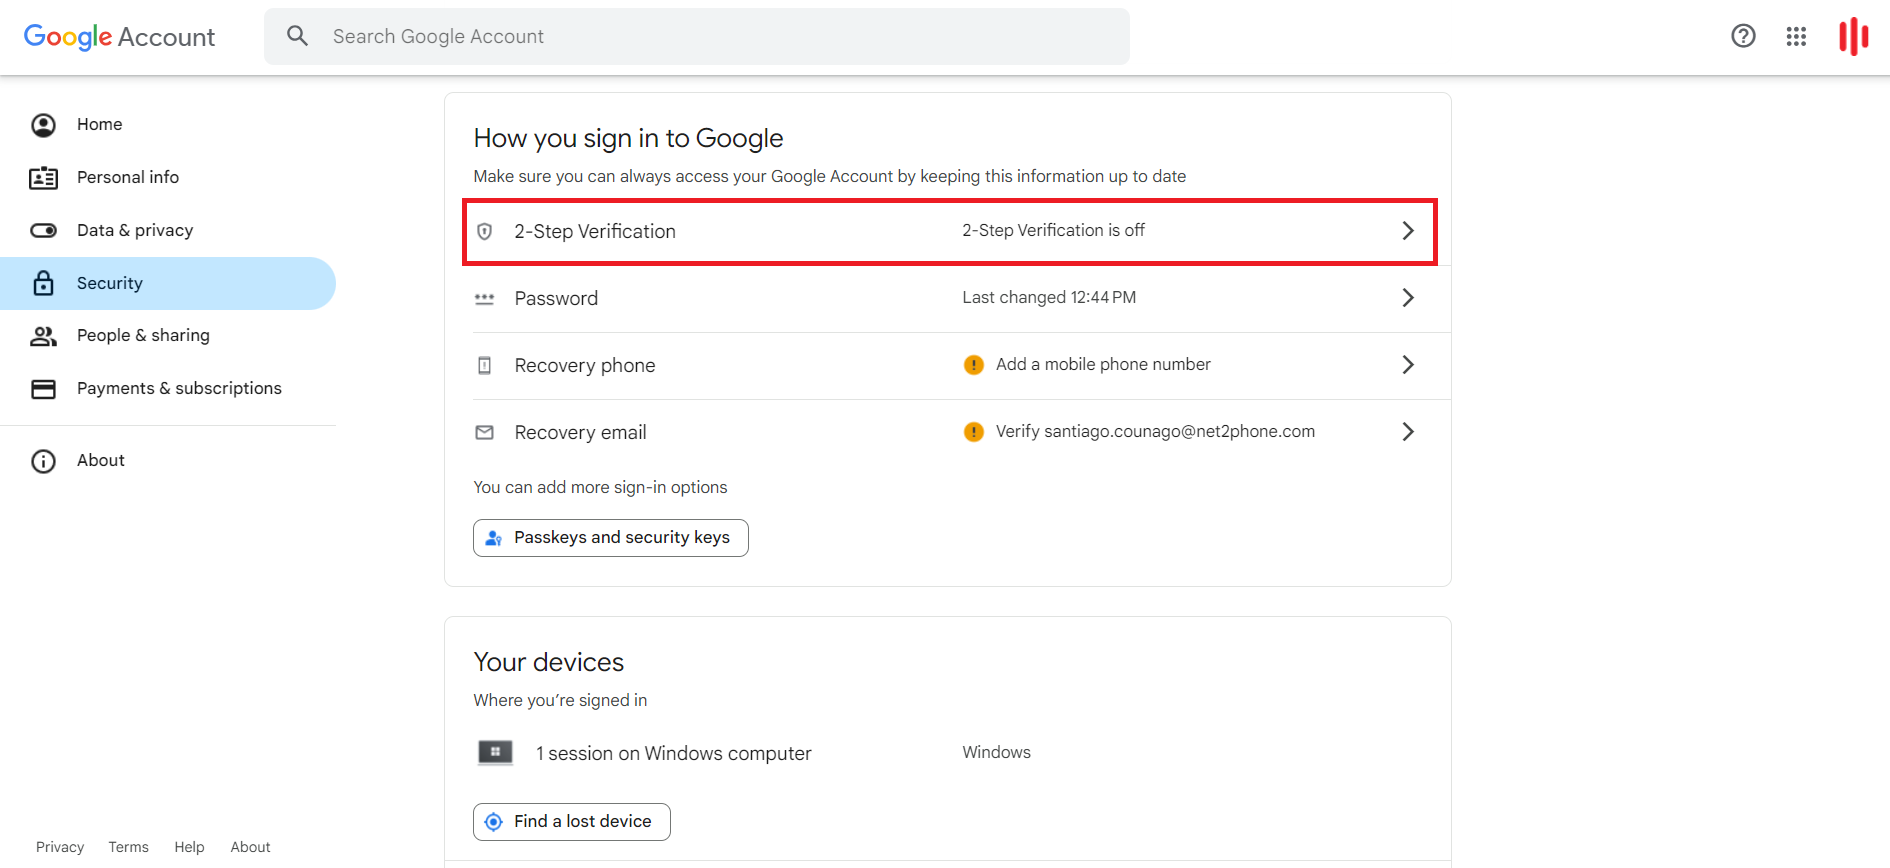
- Now, we have to scroll to the "How you sign in to Google" menu. Here, we have to click on the "2-Step Verification" option if it´s not configured.
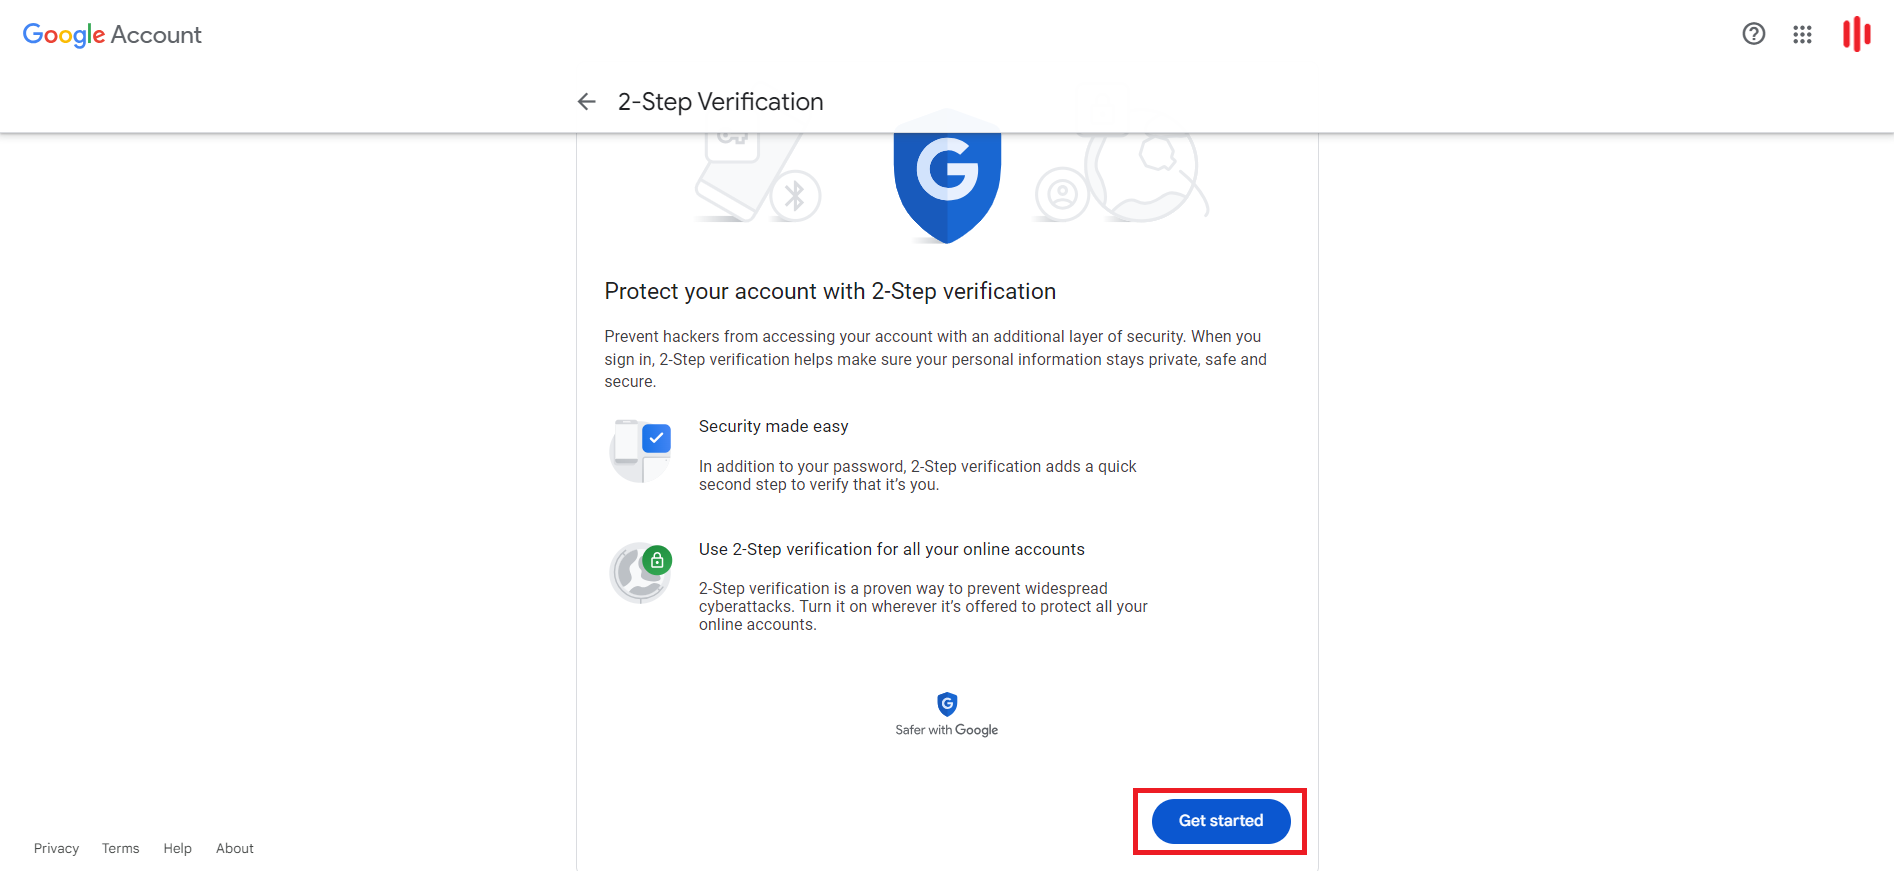
- Here you will have an explanation of 2-Step Verification. Click into "Get started".
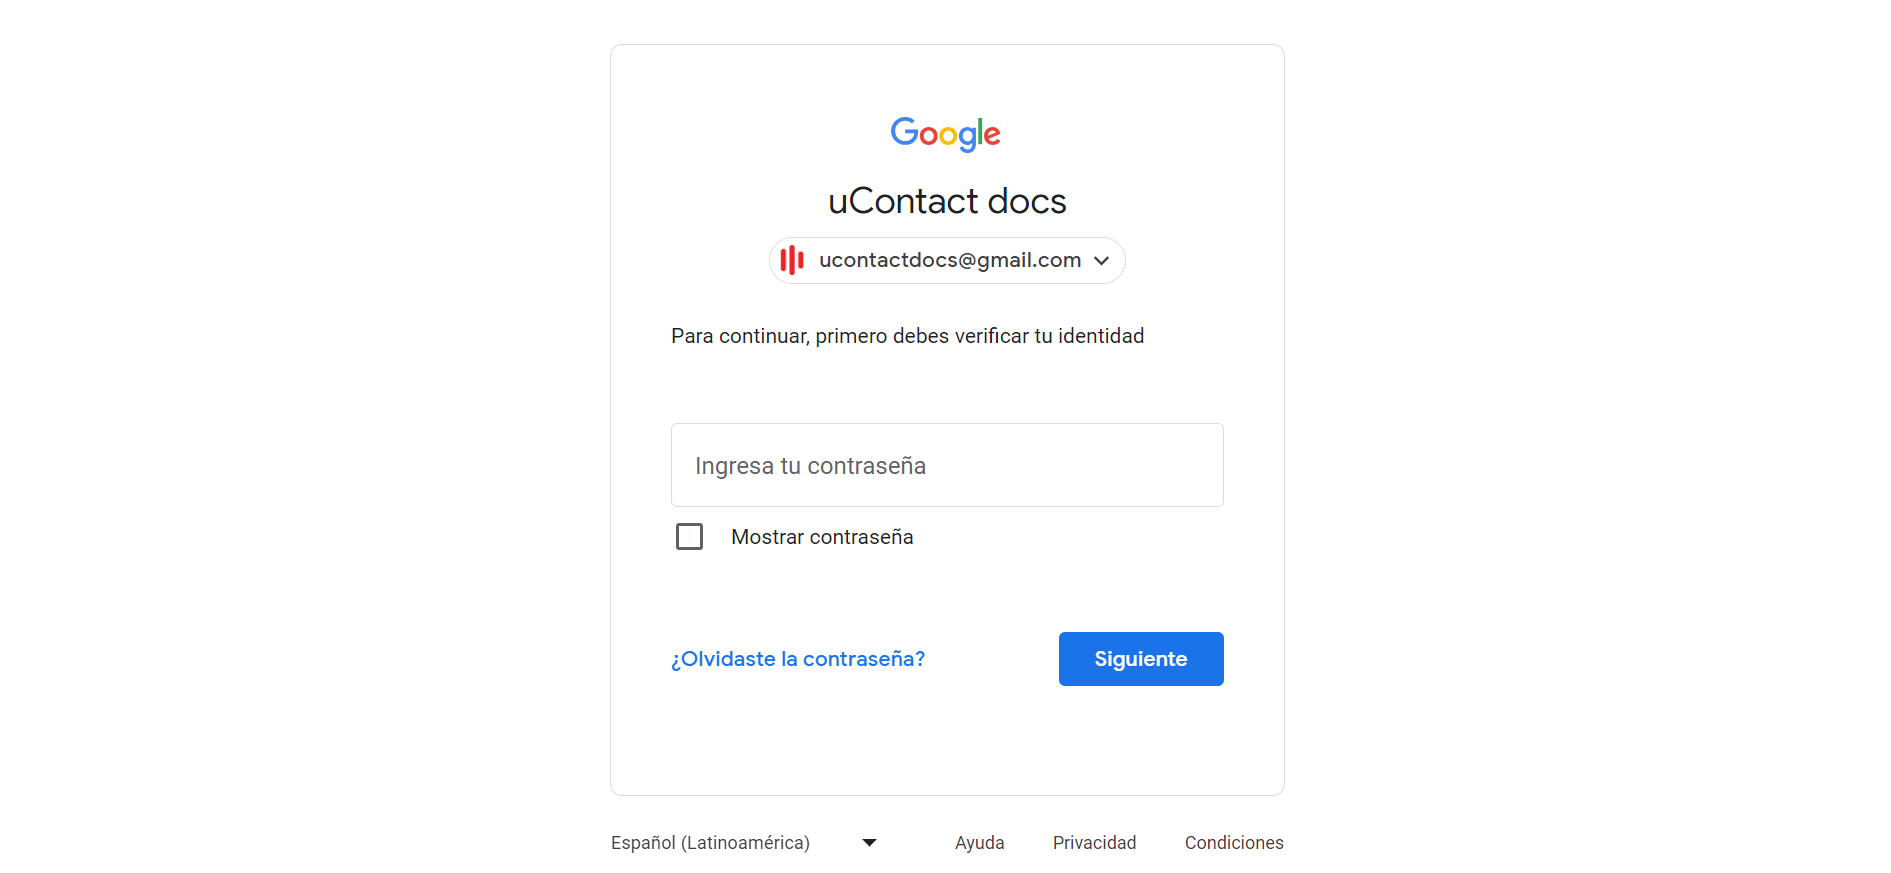
- In this step Google needs to verify your identity, so you must enter the password for your Google Account.
- Here you must enter a phone number. Google has to give you a code, so you must select whether you want to receive the code via text message or phone call. Then, click "Next."

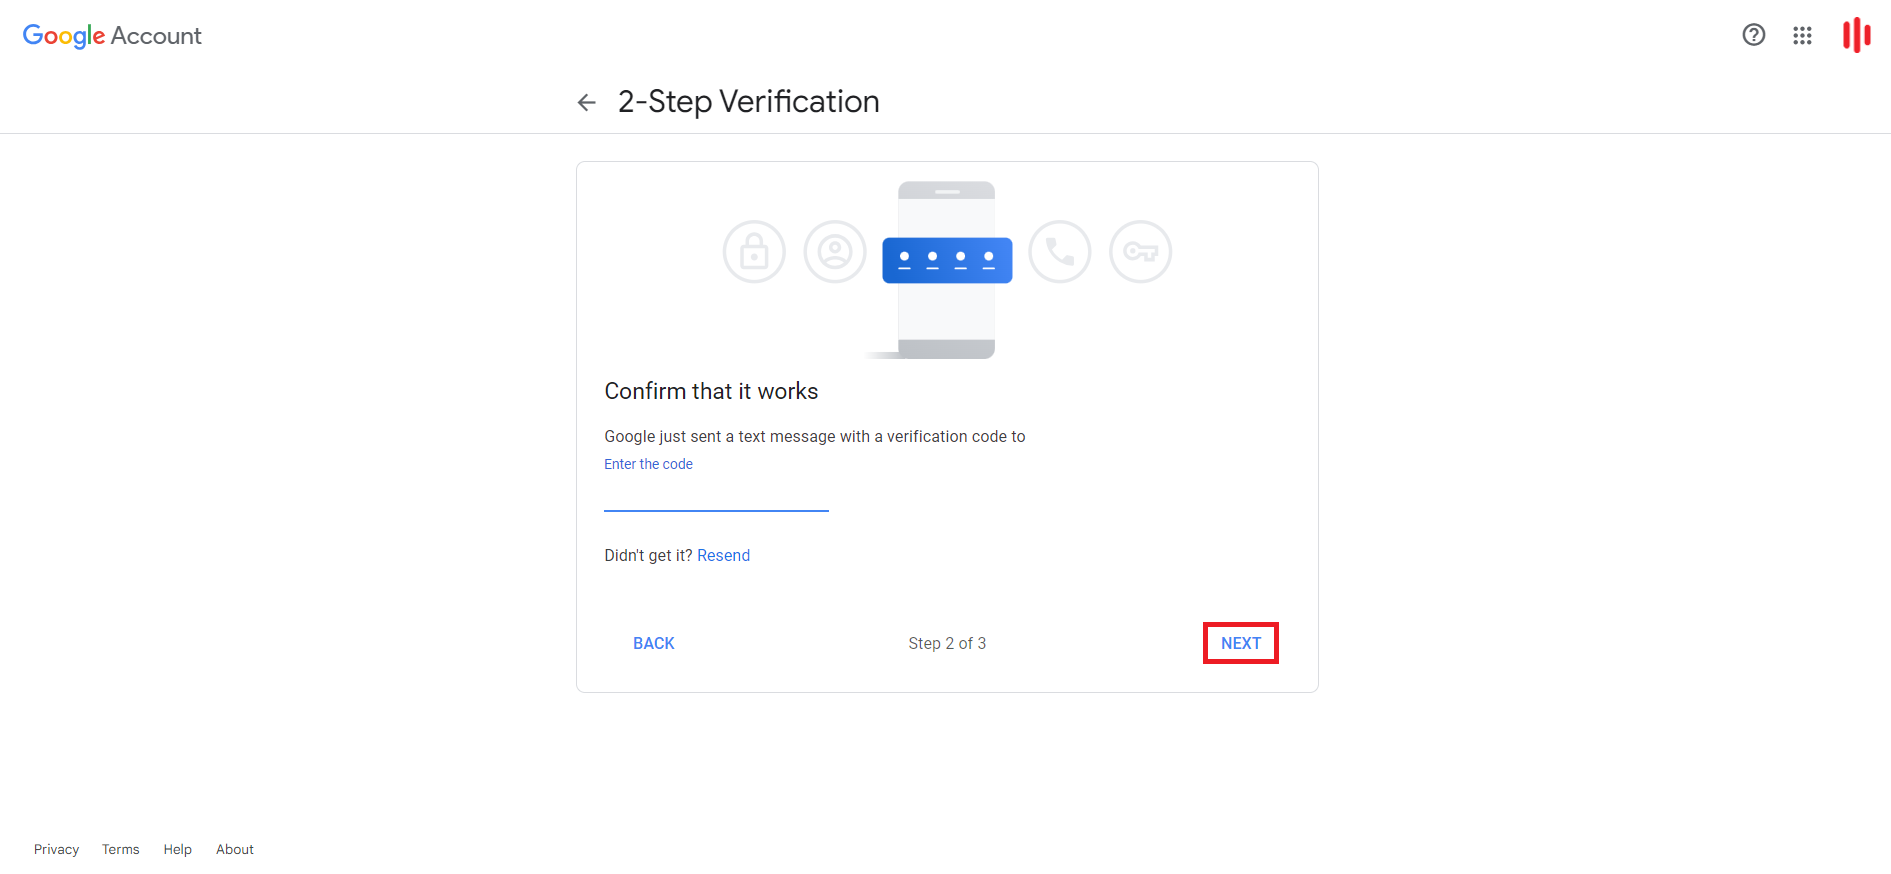
- Then, you will receive the code and you will need to enter it and then click “Next”.
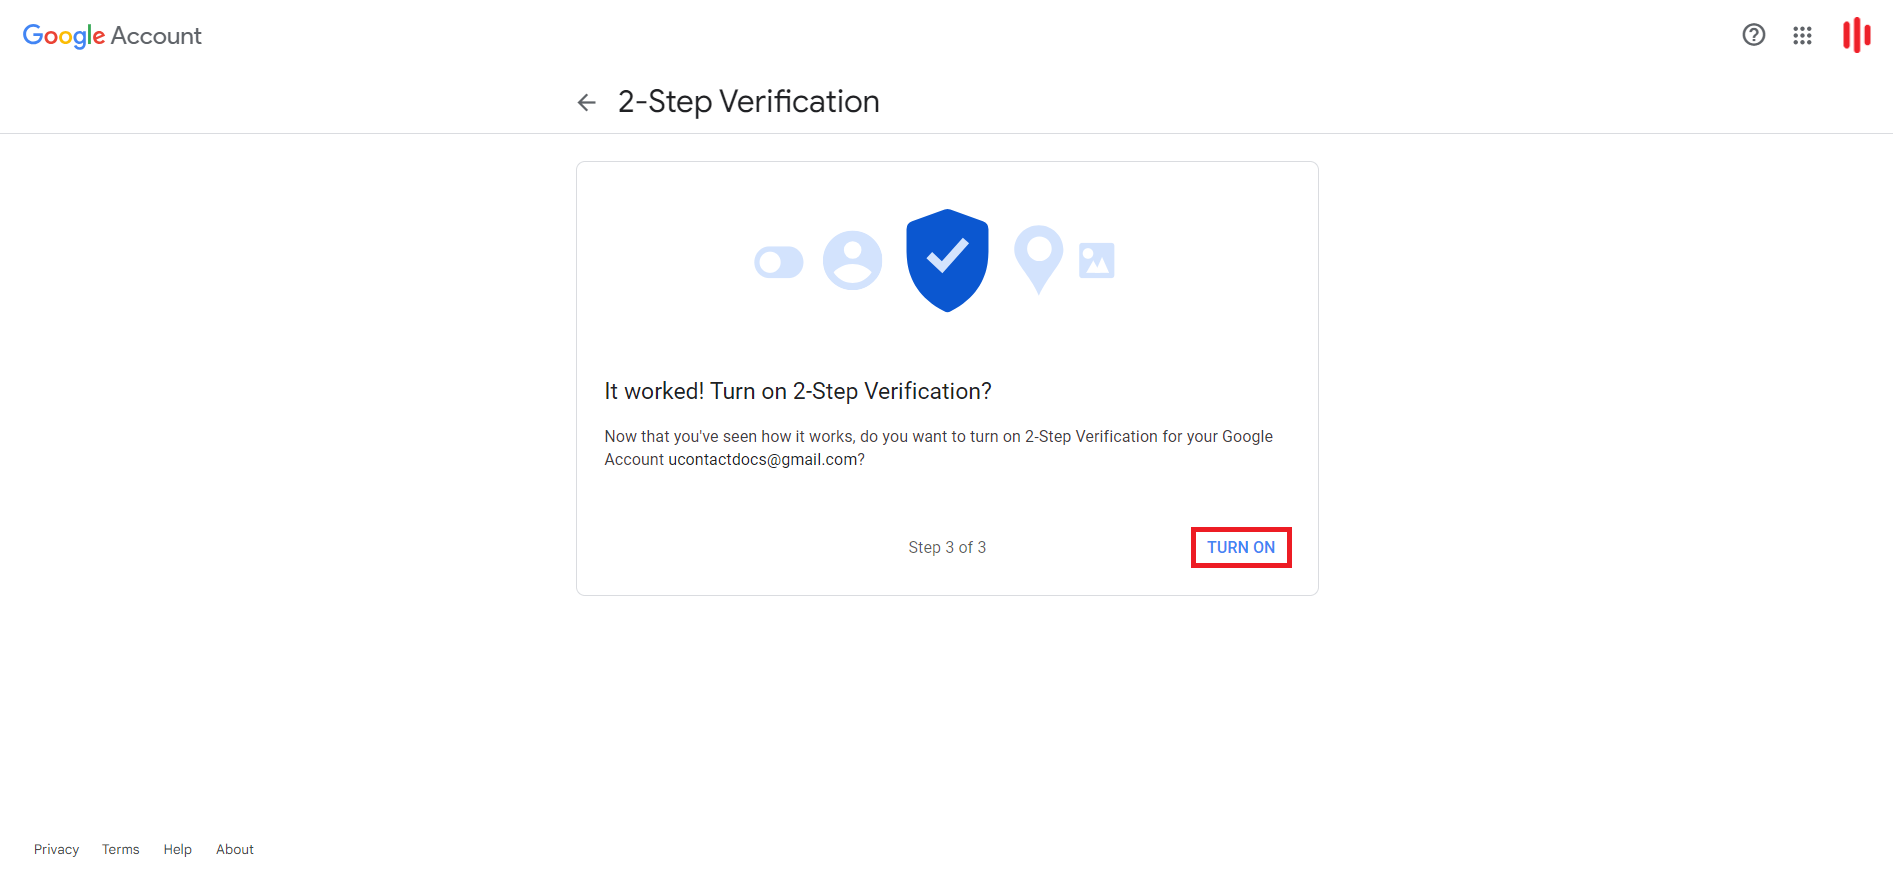
- If the code you entered is correct, you will need to click "Turn on" to activate successfully the 2-Step Verification.
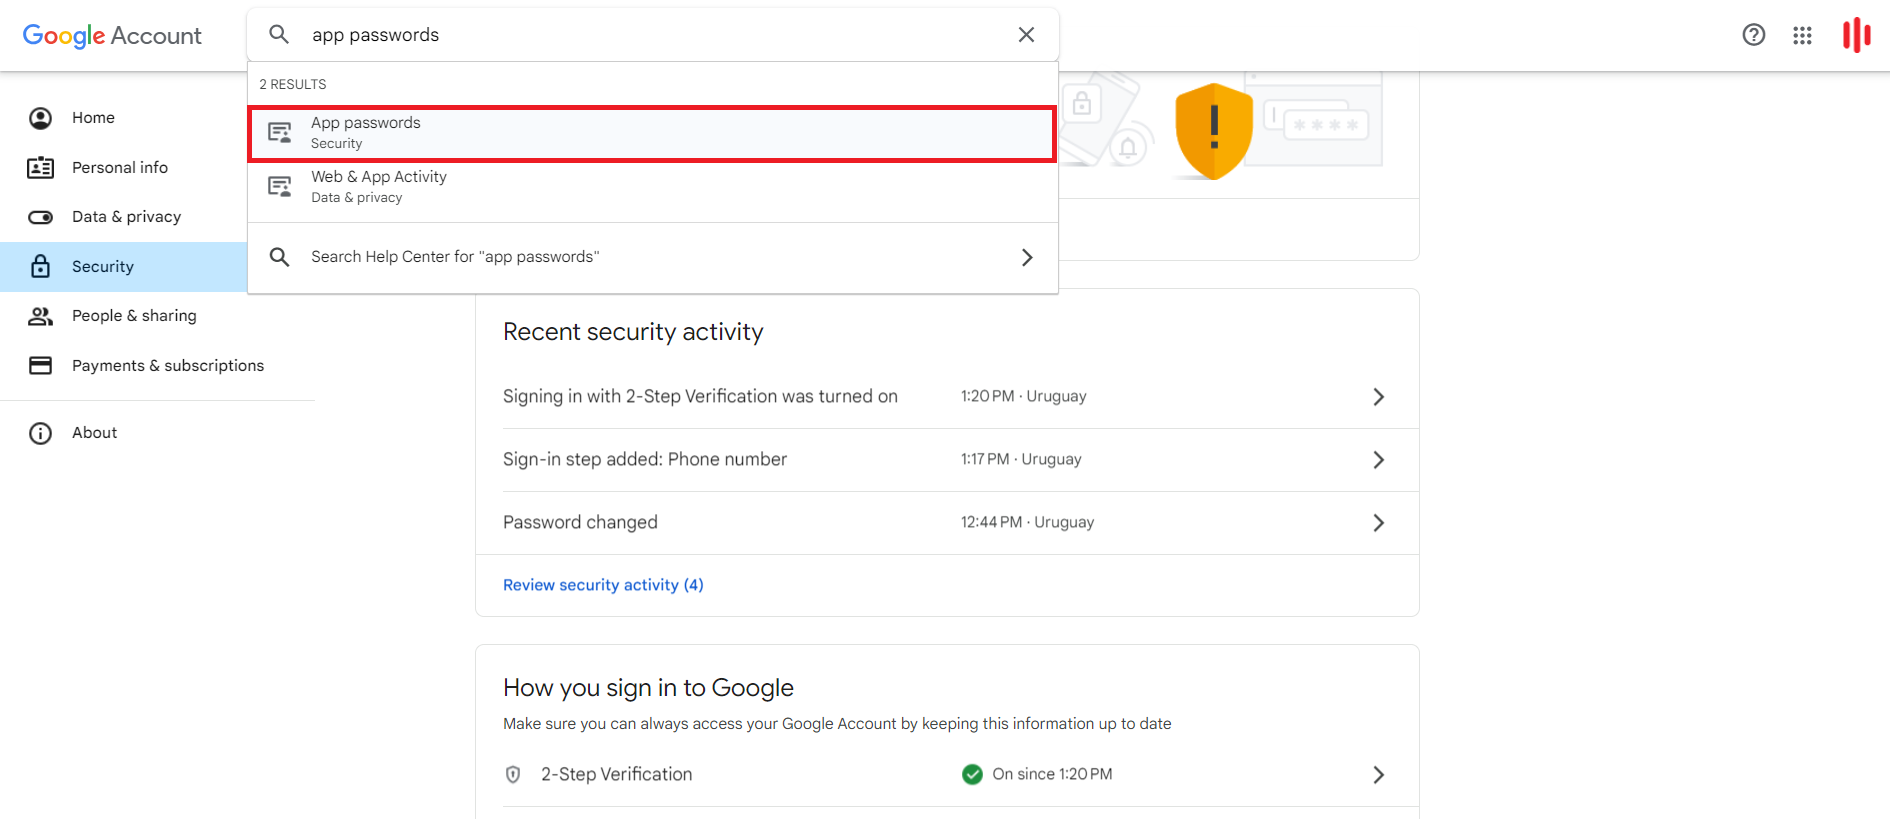
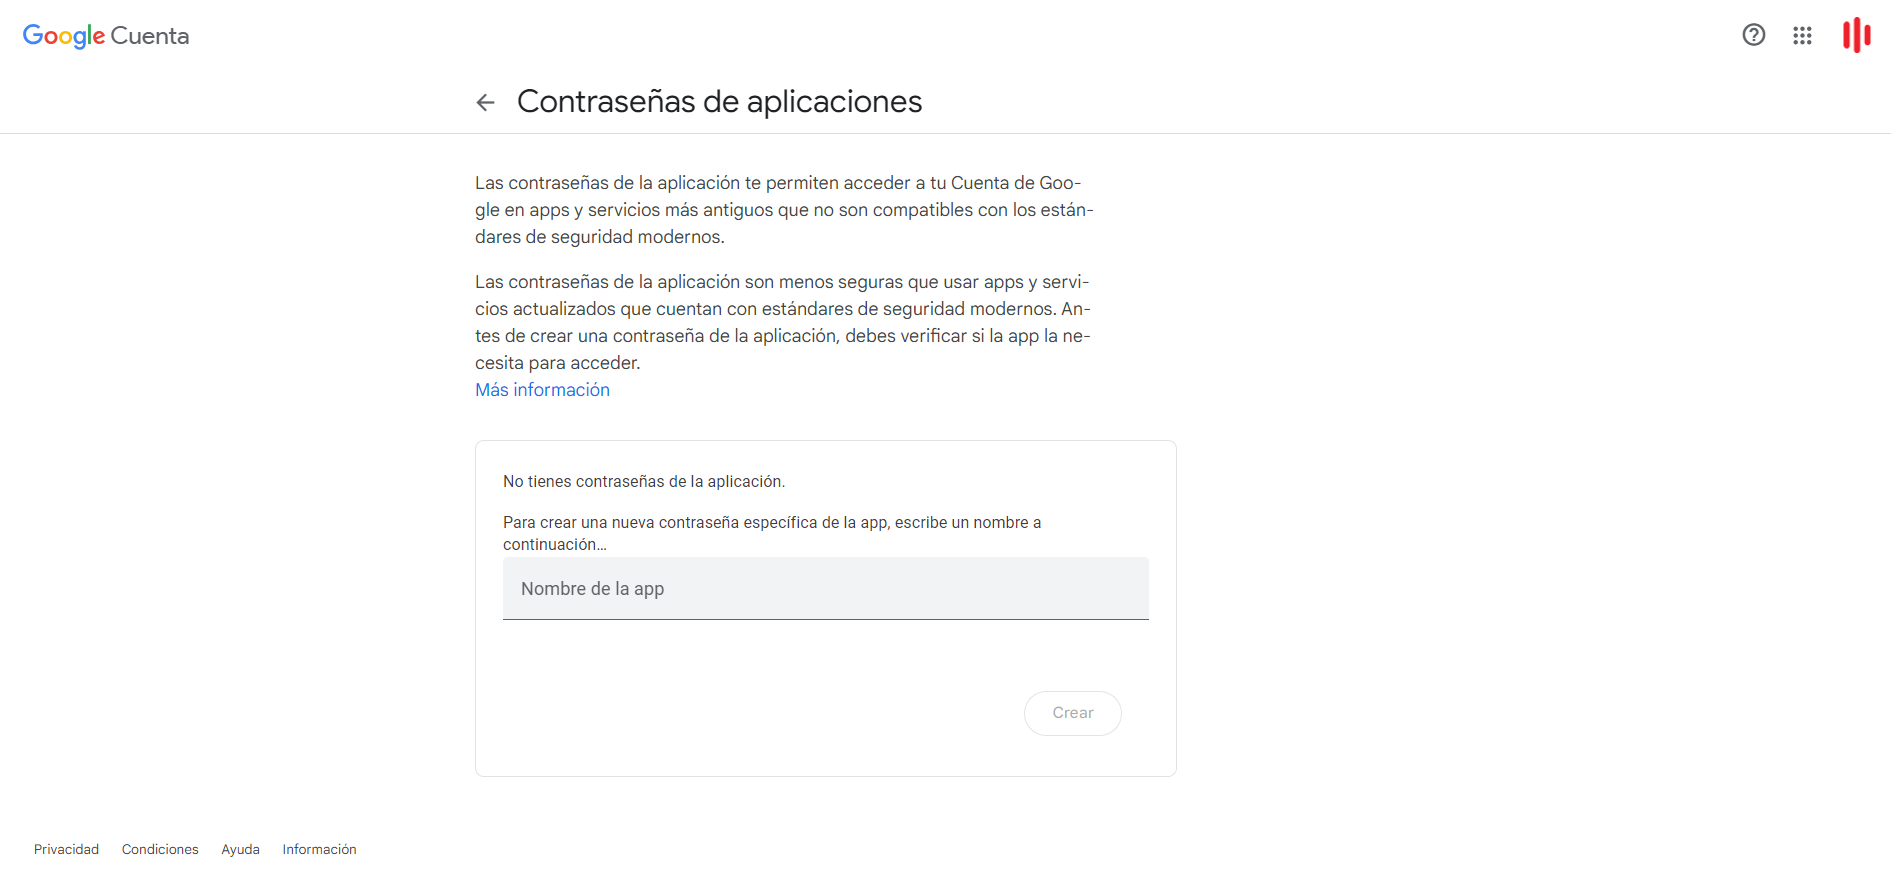
- Once you have the 2-Step Verification enabled, you need to search for "App passwords".
- Here you must enter the name you want for the App, for example "uContact". Then, click "Create".
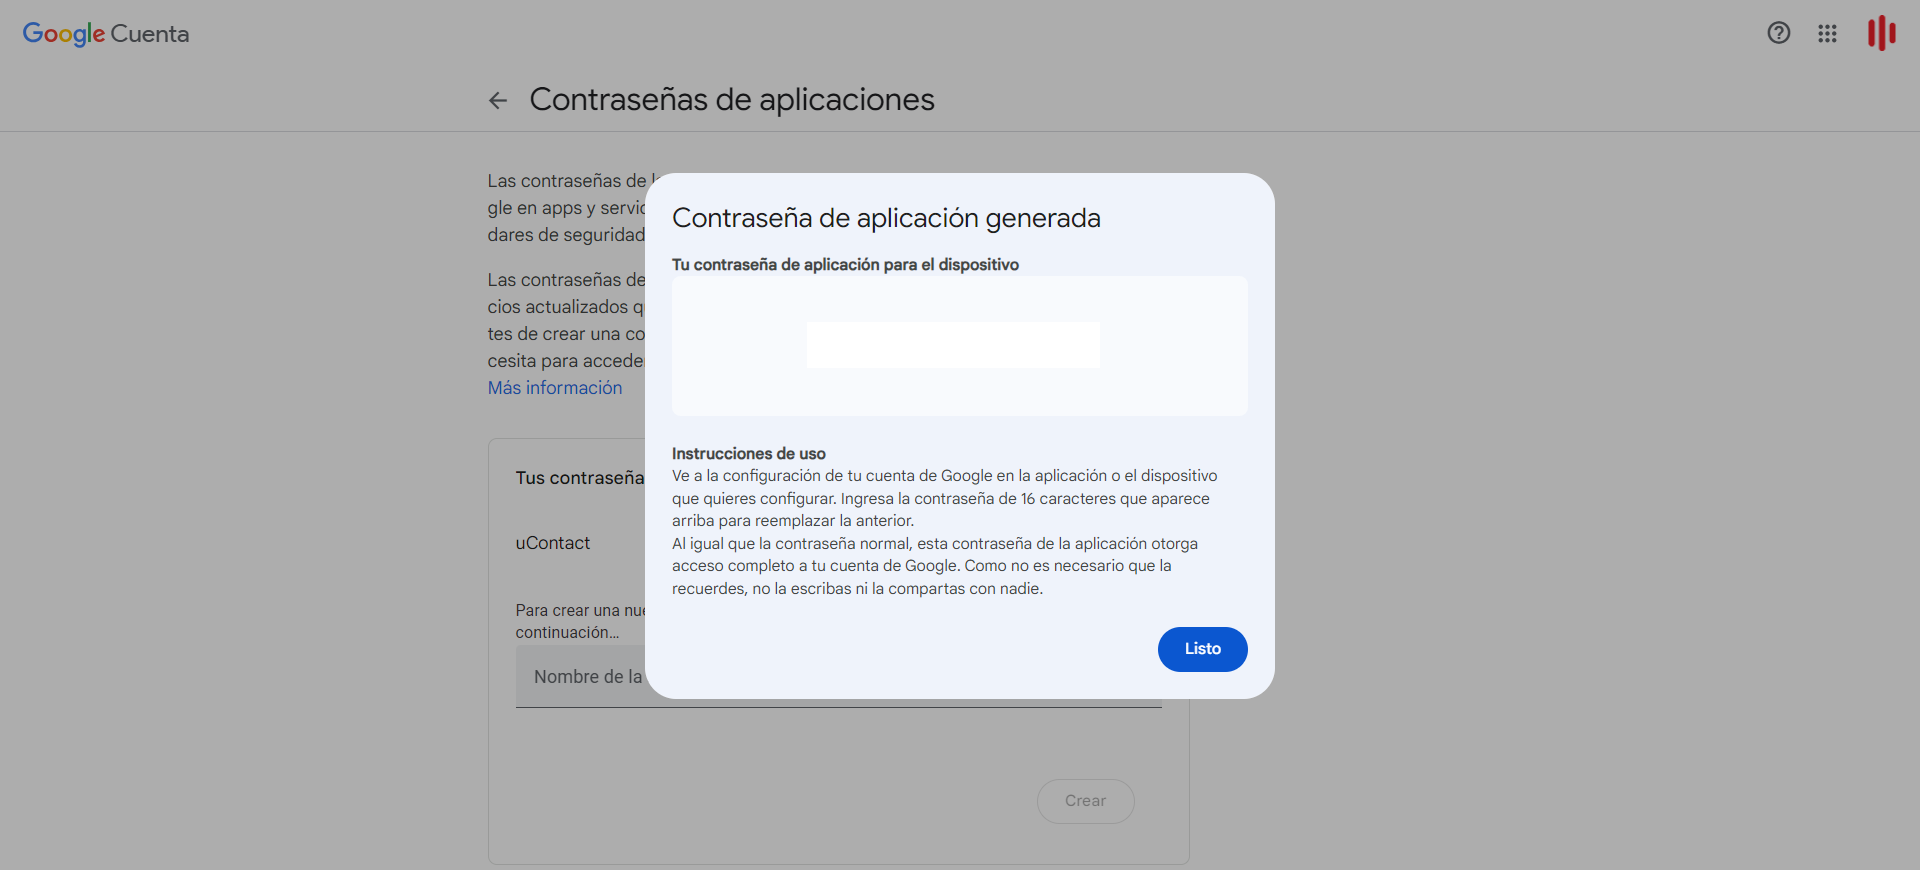
- Next, a pop-up window will appear with a password that you will need to copy because you will need it to activate the connector in uContact. To finish, click "Ready".
Setting up the connector in uContact
- Log in in uContact with your user and password.
- Go to the Connectors option in the Administrator menu.
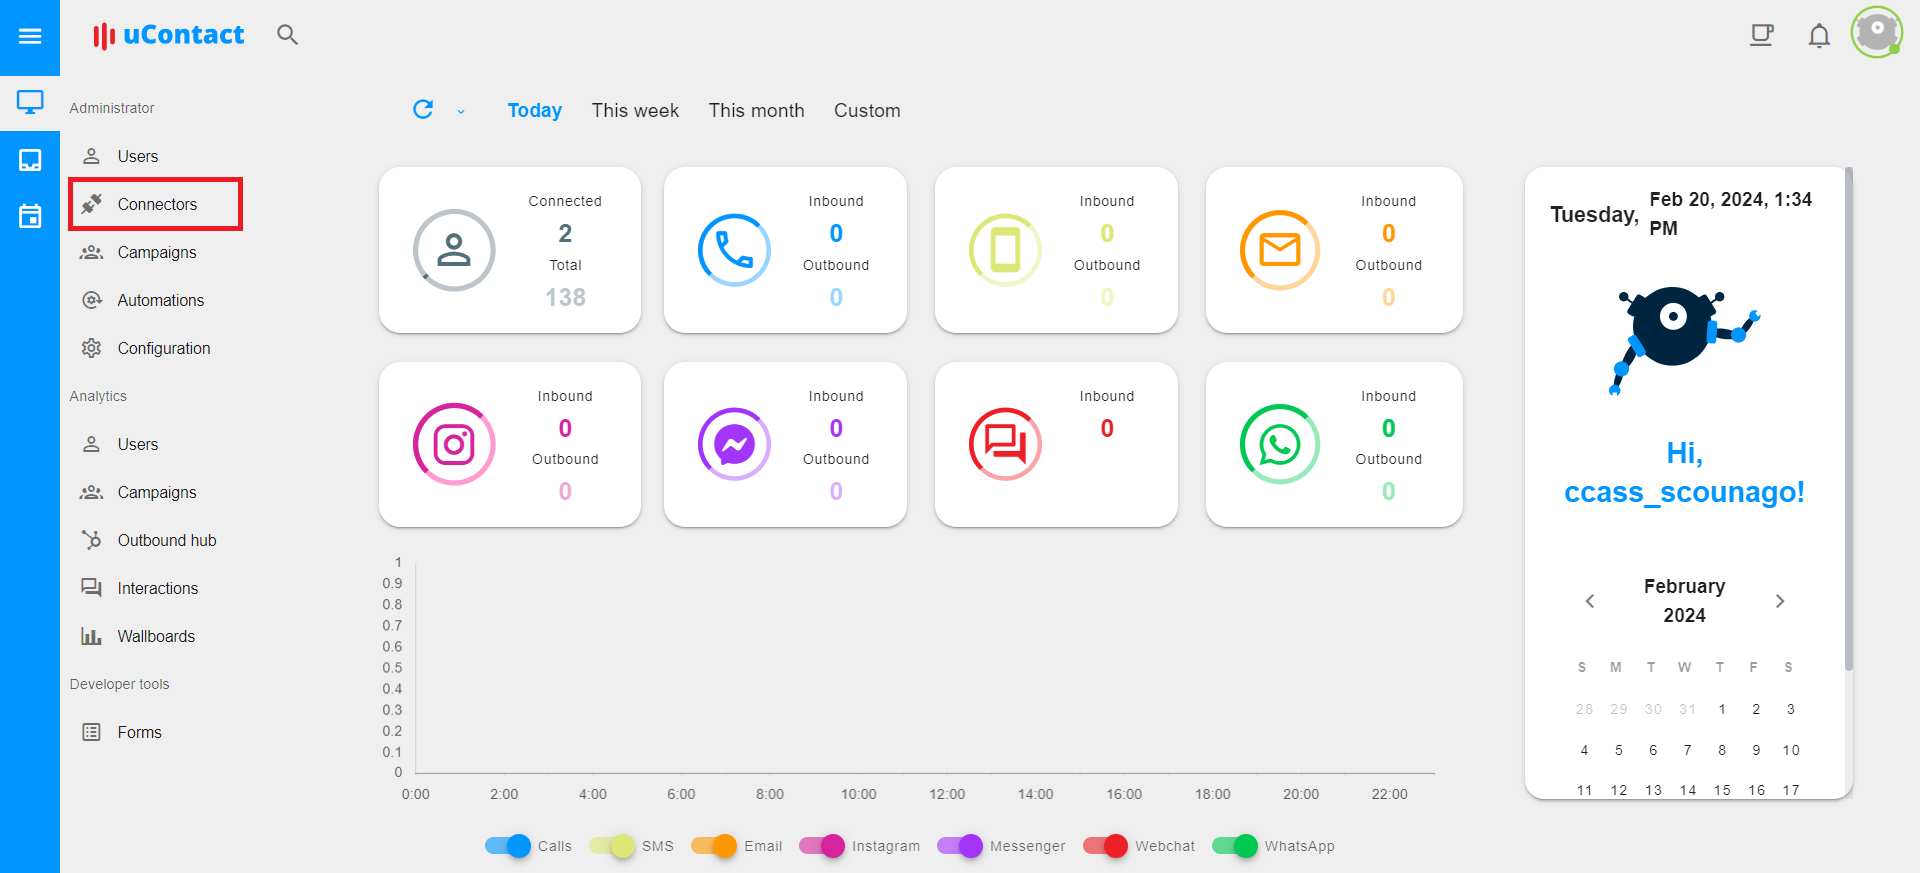
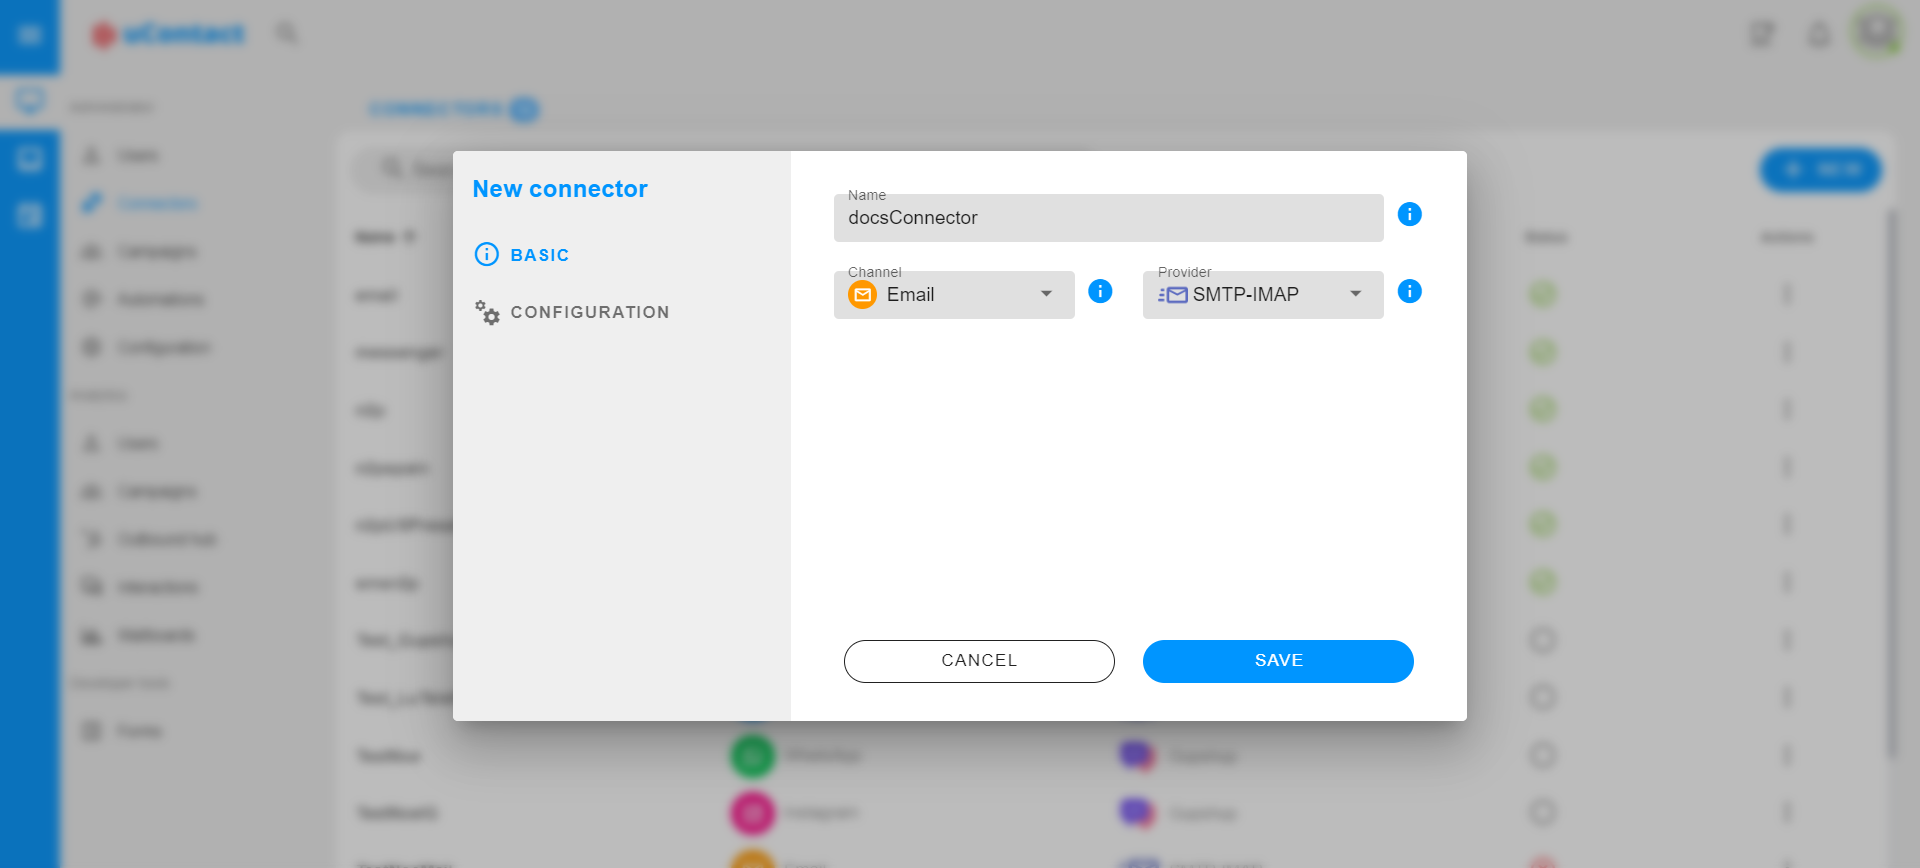
Click the "New" button and a pop-up window will appear.
Here you need to enter a name for the Connector, select the Email channel and SMTP-IMAP provider.
- Then, the Configuration tab will appear with a form to configurate the connector.
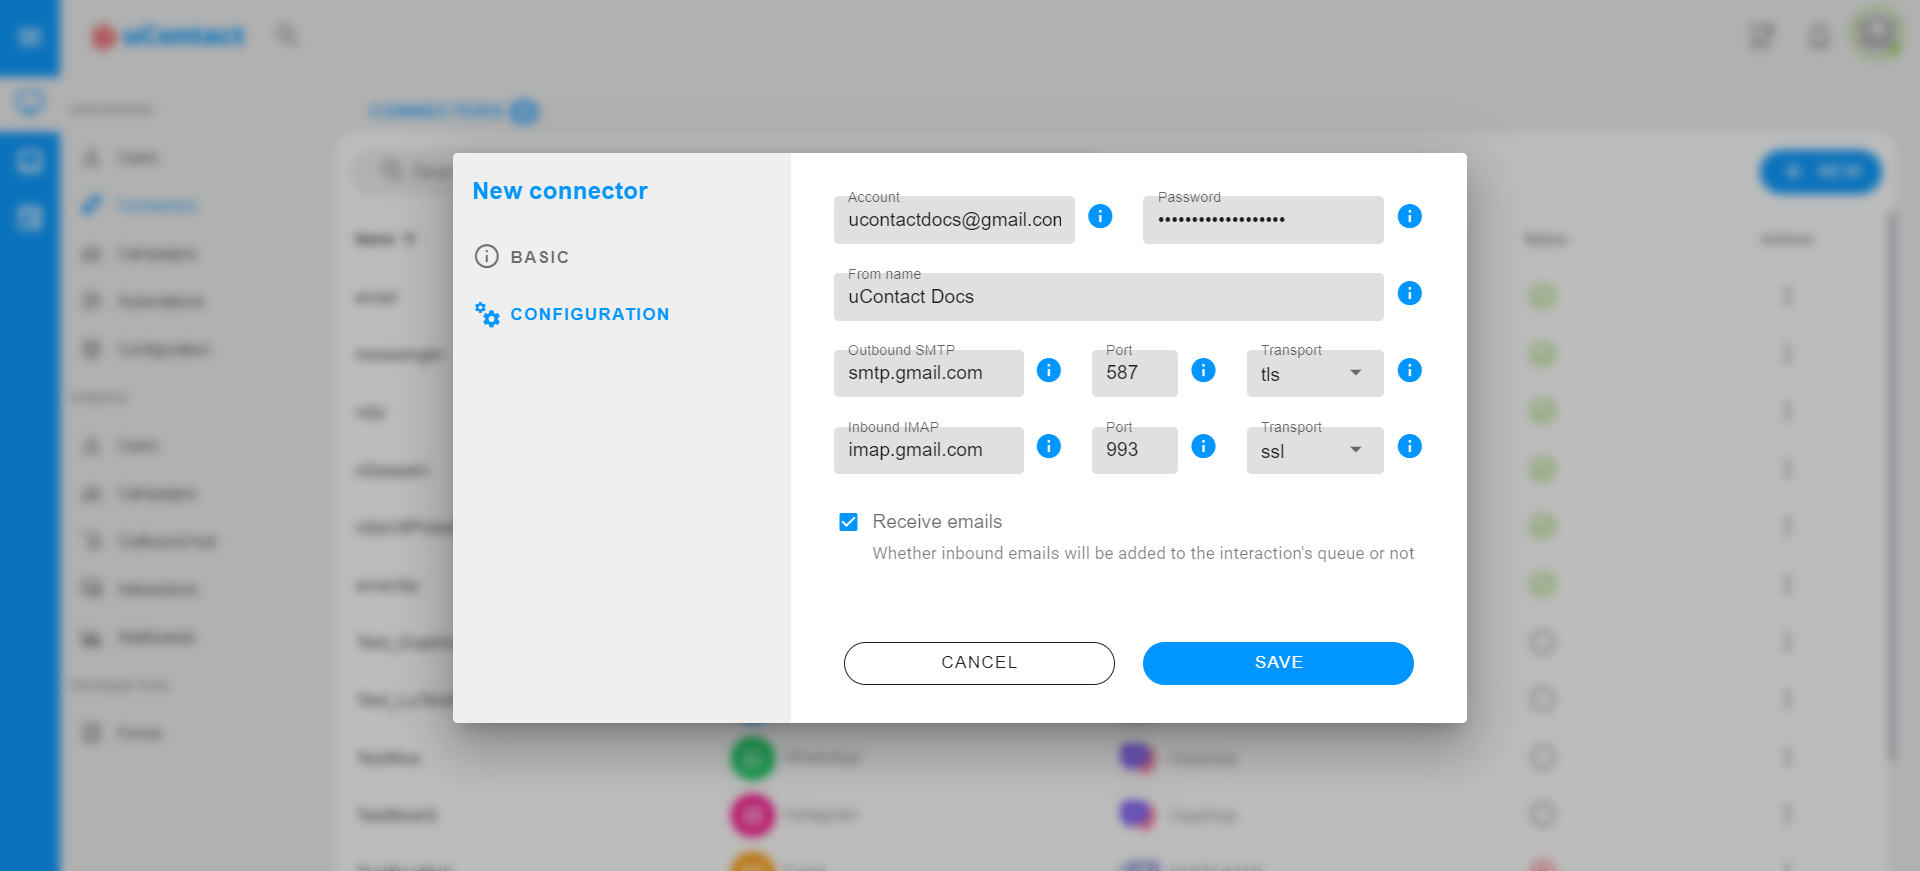
** Below is a brief explanation of each fields:**
- Account: Email account direction.
- Password: App password for the email account provided by Google in the step 12 of the procedure above. Remember to paste the password without the spaces in the middle.
- From name: Name from which emails will be sent.
- Outbound SMTP: Protocol for simple transfer of the assigned email account. Is required to send emails. By default: smtp.gmail.com.
- Port: Port assigned to SMTP port. By default: 587.
- Transport: Encryption used by SMTP protocol. By default: TLS.
- Inbound IMAP: Protocol for accessing internet messages. Is required only if Receive messages check si active. By default: imap.gmail.com.
- Port: Port assigned to IMAP port. By default: 993.
- Transport: Encryption used by IMAP protocol. By default: SSL
- Receive emails: Whether inbound emails will be added to the interaction's queue or not.
- To finish, simply click on the "Save" button and the Connector will be created succesfully.
Monitoring the status
In addition, you can check the status of the connector in real time. Simply by going to the connectors tab in the Administration section, you will see a list with all the connectors created, in the "Status" column the status will appear.
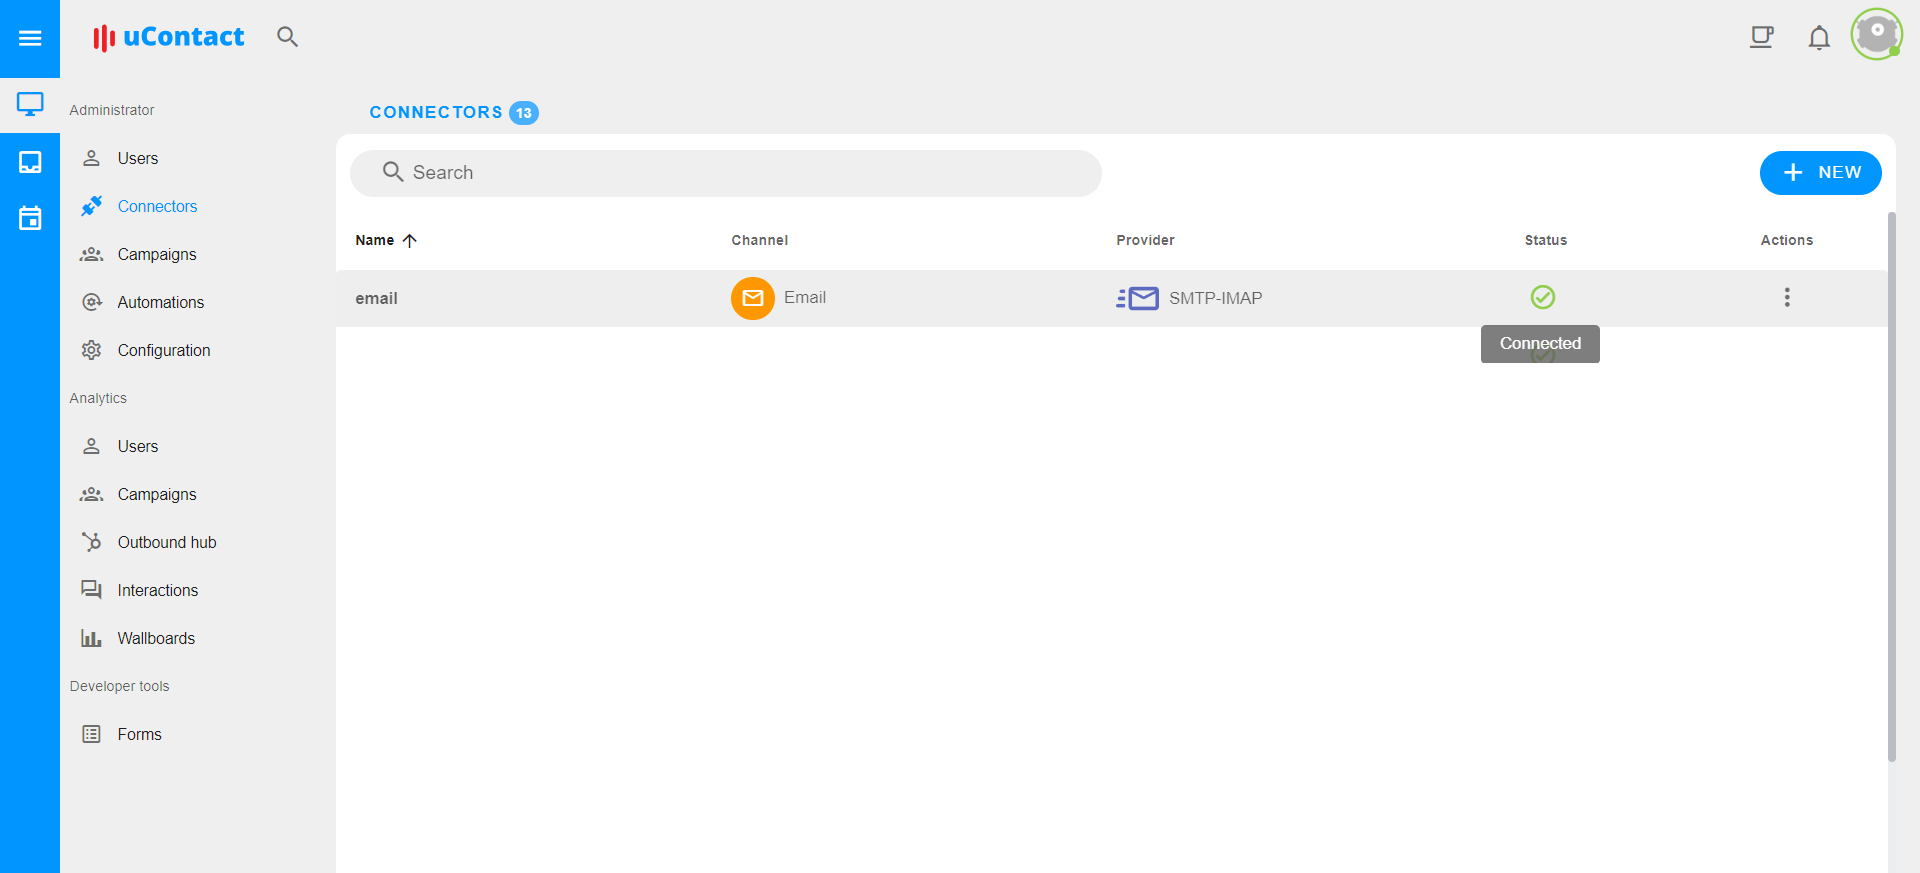
The possible status are the following:
| Status | Description |
|---|---|
| Connected | The connector is working correctly. |
| Disconnected | The connector is disconnected. |
| Activate | The connector is not working and requires you activate it again. |
What's next?
Once you have successfully created the connector and the status is Connected, you have to create a campaign and activate the Email channel using the connector created.