Workflows designer
The workflow designer gives us the tools to create custom workflows to be used in several areas of the application: bots for text campaigns, custom blacklist behavior, custom webhooks, events for connectors, and a powerful tool to create ivrs and custom telephony procedures.
Workflow types
The different types of flows we can create are:
Ivr, Simple ivr, and Ivr functions
Ivrs are located in the automations tab. When creating a new ivr we will have the option to either create an ivr, simple ivr or an ivr function, functions are a tool for developers to manage their ivrs and make them more readable.  To see the ivr activities documentation click here
Bots and Bot functions
Bots are located in the automations tab. When creating a new bot we will have the option to either create a bot or a bot function, we will only be able to use bots on campaigns, and functions are just a tool for developers to manage their flows and make them more readable.
Bots will be executed either at the start of an interaction or when the interaction finishes. 
TIP
In case that the instance has bots created before uContactX, we will see them in the list and when clicked they will open the v6 flow designer.
To see the blacklist activities documentation click here
Webhooks
UContact allows us to create custom webhooks. These are located in the automations tab.
The url to access our webhooks will be: https://instance.ucontactcloud.com/IntegraChannels/resources/webhook/{nameOfWebhook}
TIP
In case that the instance has webhooks created before uContactX, we will see them in the list and when clicked they will open the v6 flow designer.
To see the webhook activities documentation click here
Connector
We can create one flow for each connector, we will see a flow button on the connector form that will open the workflow designer.
To see the connector activities documentation click here
Blacklist
This is a unique flow that can be accessed from the blacklist section in the campaign tab. 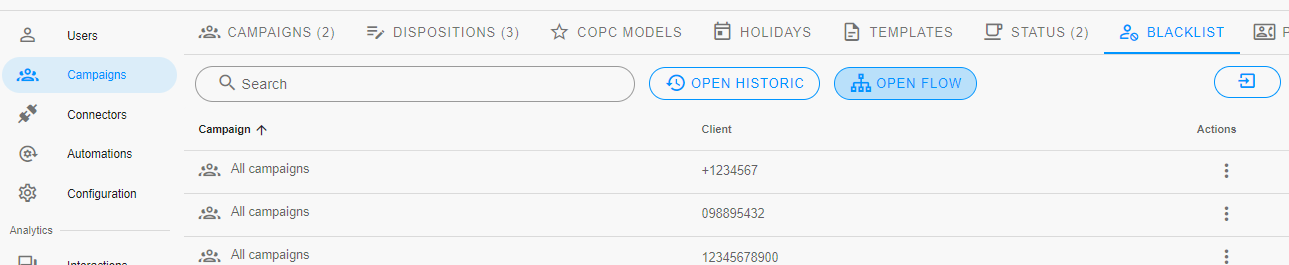 By default it will manage the blacklist of every interaction using the data from the application, but it can be altered to use a different API or database if desired.
To see the blacklist activities documentation click here
Telephony configuration
These flows can be found in the configuration tab in the flow section. By default we will see several workflows already configured, it is not recommended to change these in most cases and to use ivrs instead. 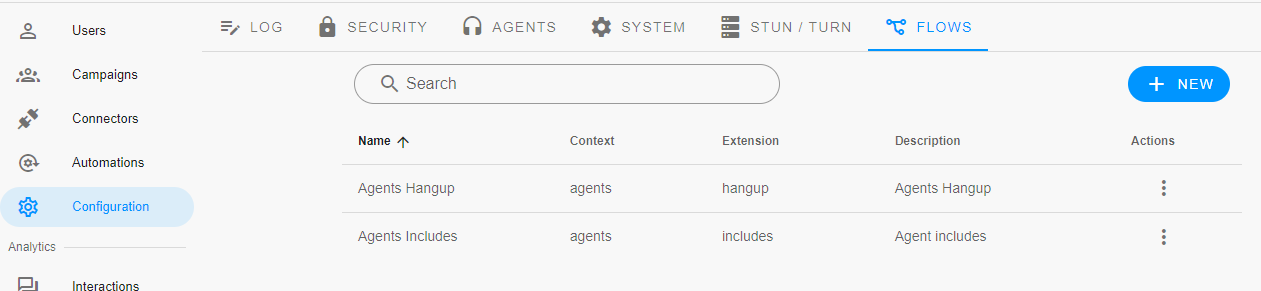
To see the telephony activities documentation click here
Functionalities
Export and import
We can export by just clicking the export button, this will download a txt file that contains the flow.
To import a flow we will be prompted with a file picker, we have to put a valid flow that was exported previously.
Zoom
We can zoom in, zoom out, and go back to the default zoom either with the buttons or with ctrl+mouse wheel.
Undo and redo
We can undo and redo a selection using the keyboard (ctrl+z ctrl+y, or command+z command+y) or by pressing the buttons on the inferior left corner
Copy and paste
We can copy and paste a selection using the keyboard (ctr+c ctrl+v, or command+c command+v)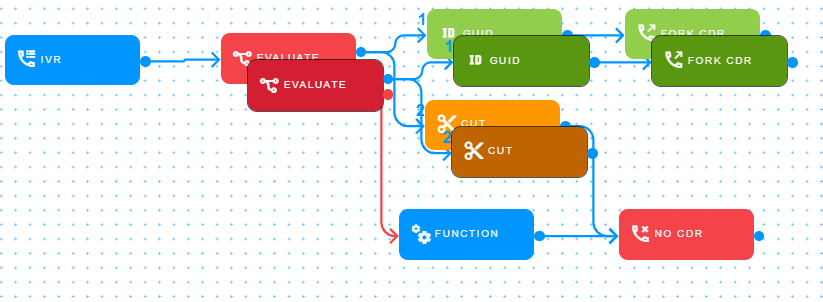
Or we can copy and paste a specific activity by clicking the copy button on it's hover menu 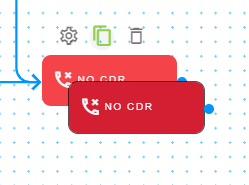
Console
The console allows us to debug the flow as it is being executed. 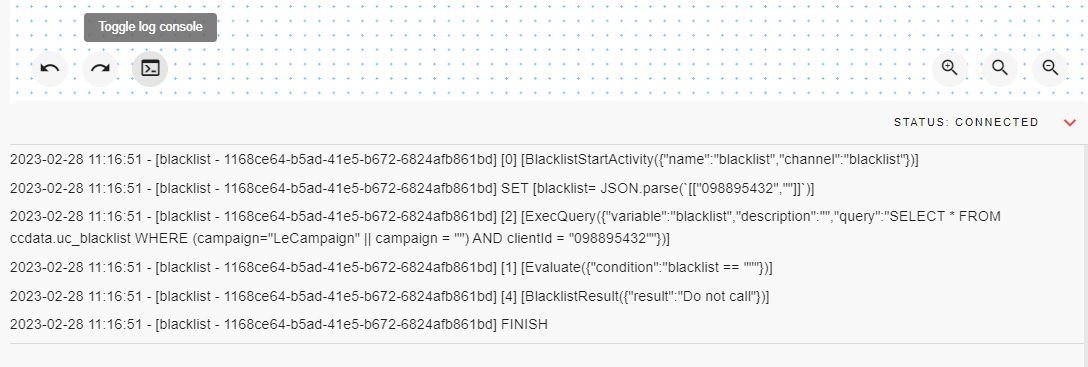
For telephony flows we will see all of the asterisk log, and we have the option to filter the lines according to our needs. We can add a filter by just typing it and pressing the add button. 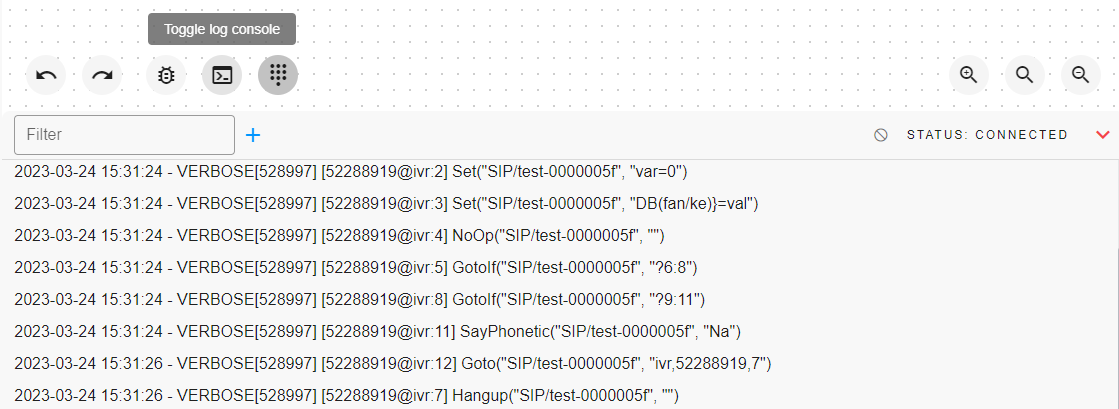
Test phone
This is a tool available for telephony flows, it allows us to make a call directly to the flow so that we can debug it in real time.
Code log
This option will only be available for telephony flows.
When clicked the asterisk code for the flow will be displayed on the navigator console, and we will be shown under each activity the steps that corresponds to it. 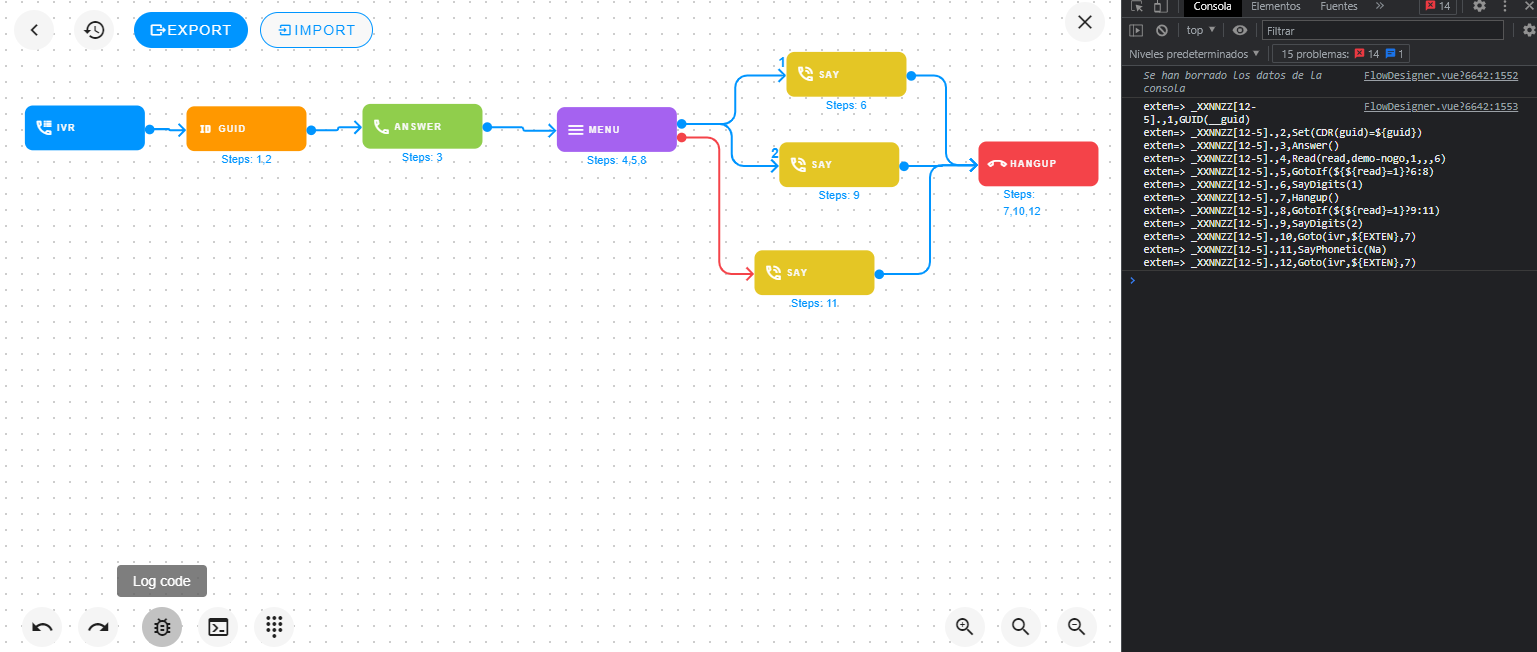
Flow designer usability
When clicking on the canvas we will start a selection, we can only select activities (not connections or reroutes), you can also individually select activities by holding ctrl.
To move an activity or selection across the canvas just click and drag one of the selected items
We can move around the canvas if we press ctrl+click and drag
In order to add an activity you have to drag and drop it from the left menu.
If we hover over an activity we will see the hover menu, from here we can open the form of the activity, copy and paste the activity or remove the activity.
To connect two activities we have to click the output point in the right of one of them, then drag and drop over the other activity.
We can open the form of any activity by double clicking it
Every form will have a description field and a button to access the documentation for that activity
To delete the selected activities we can press delete in the keyboard
TIP
Only one arrow per output is generally allowed, but there are some activities that allow for several arrows
TIP
There are activities meant to be used at the end of the flow, these don't have outputs
Saving and deploying
When working on a flow there are two different ways of saving changes.
We can save the latest changes in the flow without deploying them by hitting the "save" button, when saving this way we will see the status of the flow is "Development"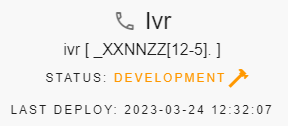
We can save and deploy the latest changes in the flow by hitting the "deploy" button, when deploying we will see the status of the flow as "Deployed"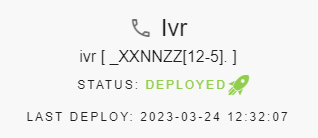
In order to know whether there is a deployed version of the flow we can look at the last deploy date, if there is not a deployed version it will say 'never'
Historic
If we save or deploy changes that weren't meant to be saved, we can easily revert the changes by clicking the "Open historic" button.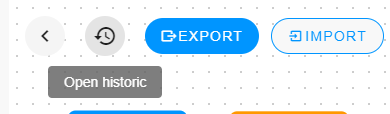
We will see a list of previous versions of the flow and whether they were in development or deployed.
We can click each one to see the flow and if we want to go back to that version just click recover.
WARNING
After recovering the flow you will have to save the changes.