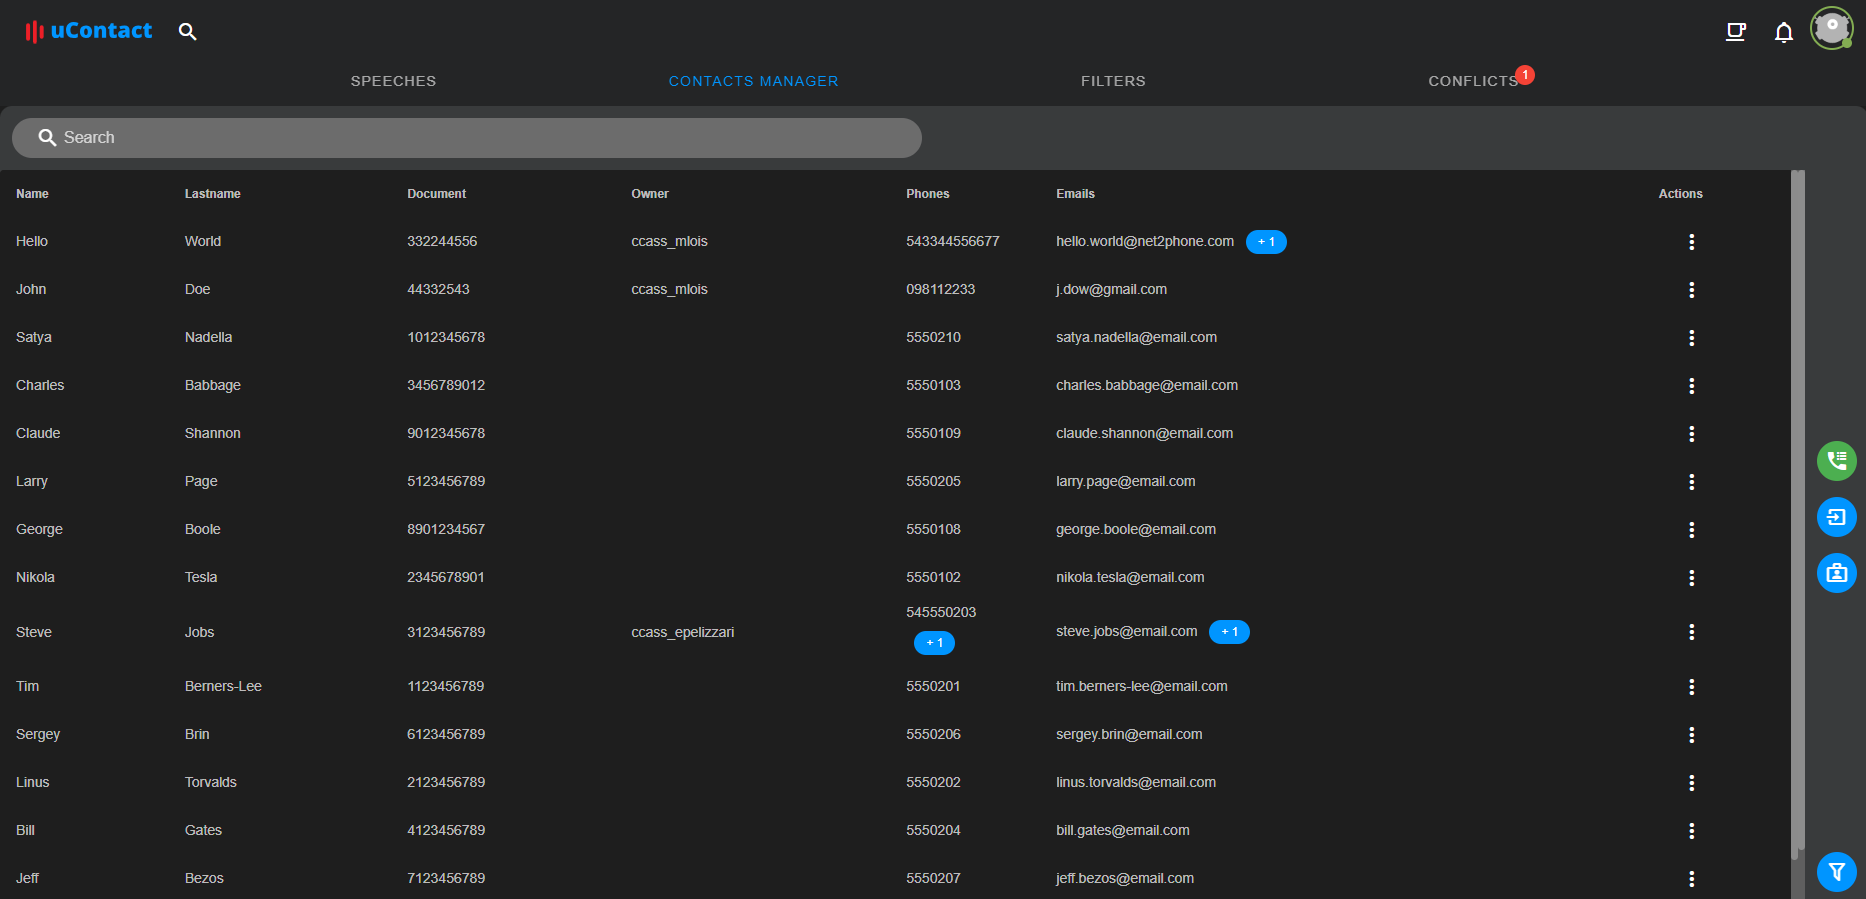
Contact Manager
This tool will help you to manage your contacts in a bulk way. In the main view of the contact manager you can find a table with basic information of the contacts. You can load contacts to this table using different criterias that you can build with the Filter function. Once the contacts are loaded you can run different actions on them.
Import Data
With this tool you can import contacts to ucRM with Excel or CSV files. Once you Click on the import contacts data icon a popup will be displayed.

You will be guided with the assistant to upload you contact information to uCRM First you will need to select a file to upload
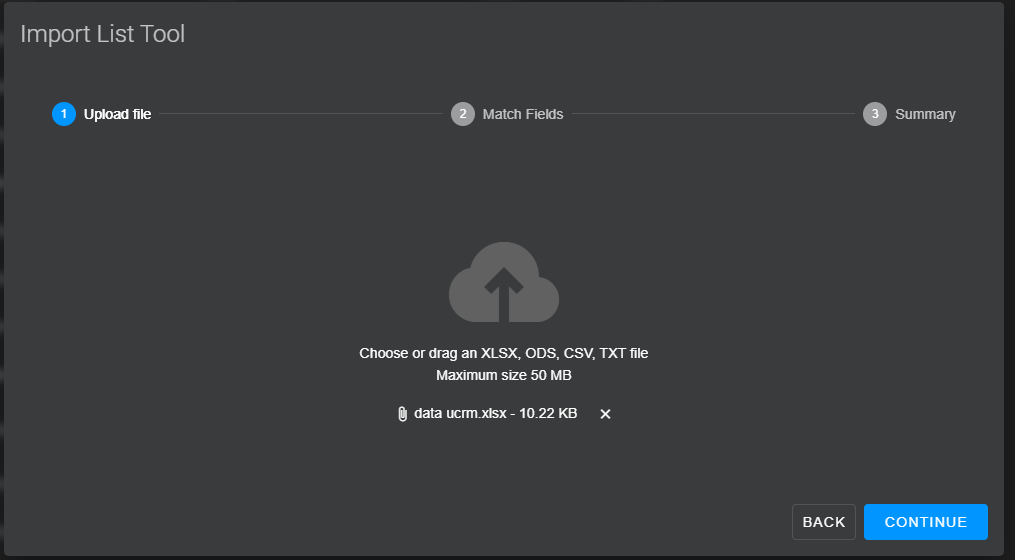
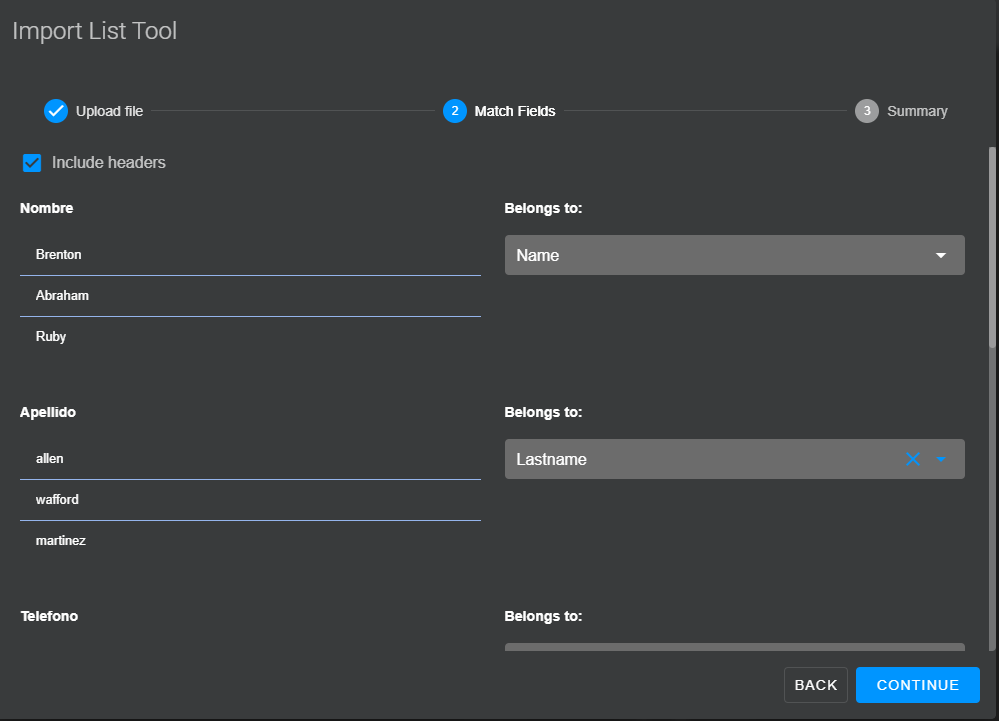
Click on the icon in the middle of the popup to select your file and once you selected click continue. In the second step you must match each column of your file with the corresponding field of uCRM contact. If fields that are required are not matched with a column of your file you will be alerted to match them before you upload your data.
At last, the preview screen will be presented to confirm data uploading.
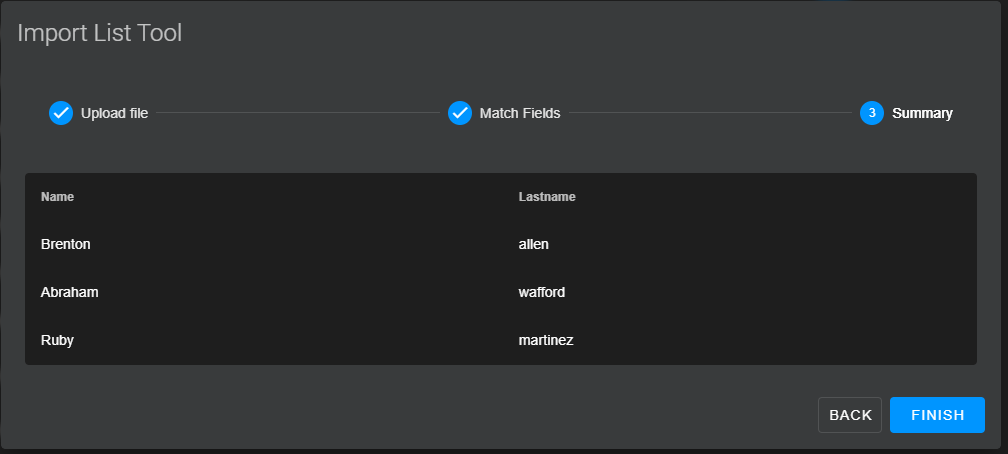
Once data is uploaded those contacts that are in conflict with existing ones in uCRM will be added as temporary contacts and you will need to solve merge them or force the creation from the Conflicts tool.
Change Owner
By default each contact you create in uCRM is assigned to an owner. If you want to bulk change the owner of a list of contacts you can use the Change Owner function of the Contact Manager. First of all you must apply a filter in the contact manager to load those contacts to which you want to change the owner. Once filter is applied click on the Change Owner icon.

A popup will be displayed for you to select the new owner for the contacts.
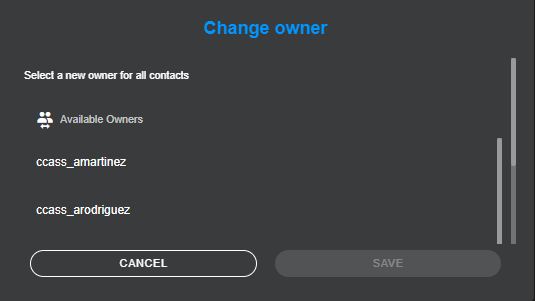
Select the new owner and then click Save button to change the owner.
Filters
You can select pre-saved filters or create one on the fly to load contacts in the Contact Manager. To select a pre-saved filter or create a new one click the filter icon at the bottom right corner of the screen.

A pane at the right side of the screen will be opende to manage filters.
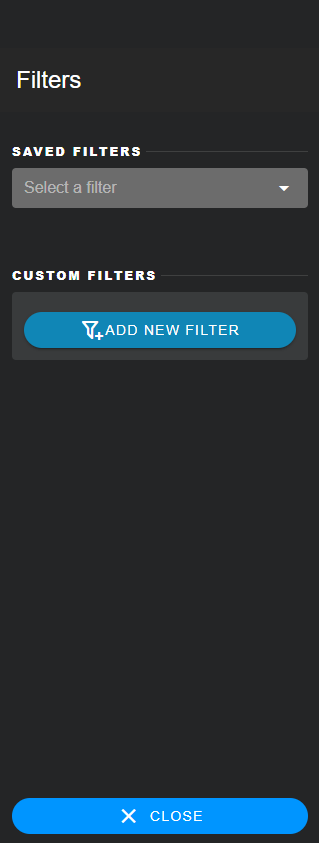
In the right pane you will find a dropdown list with the filters that were already created and saved and a button to Add a new filter (Add New Filter).


If you decide to create a new filter clicking the Add New Filter button a popup will be displayed on the screen to start building your filter.
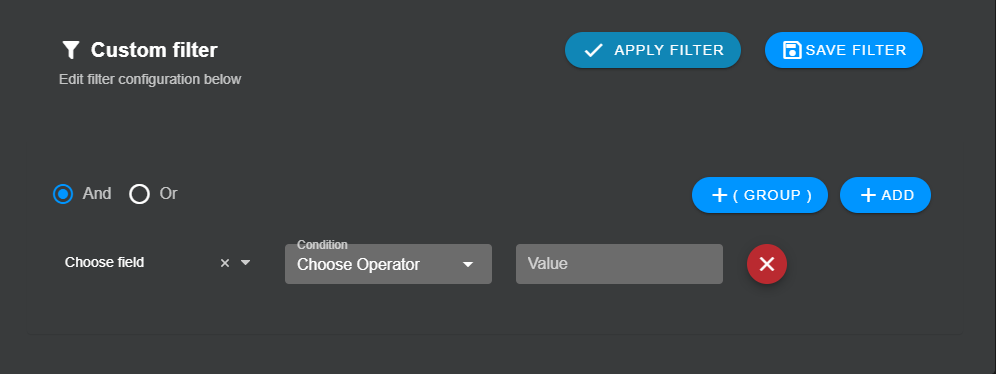
You can directly apply the filter and also save it for use it again in the future. When a filter is applied you will see in the right pane the applied filter with a description of the filter criteria. Also an icon will appear on the top of that pain to clear the applied filter.
In the next section of the documentation you will find how to configure a the filter criteria.